A LORA is a finetuned AI model for generating custom images using Stable Diffusion (and other image synthesis tools). These can be trained on your own images and I think it is a useful tool for creatives to explore machine learning and AI while retaining your own data.
I’ve had a few people ask me about this process so here it is.

THOUGHTS
I regularly use ‘AI’ in my pratice, but I am trying to be mindful in using only offline, open source and local software. It is a useful alternative to cloud based AI, hosted on servers of massive technology companies (chat GPT, Claude, Google, Grok etc) and allows for similar tools to be used offline, local to your system.
I prefer local software in general. I can use my own data, I know that what I create is housed on my own hard drives and this uses comparatively less resources to run than the 7 nuclear power plants that google wants to make to power cloud based AI(algorithms). Algorithms that extract your data, extract water and extract fossil fuels to maximise the integration of their algos into every aspect of our lives.
I particularly resent the Faustian deal I have with these algorithms and platforms which augments my creative practice. Rendering electricity into pixels, posting this content on Instagram to feed machine learning models in exchange for occasional financial opportunities and a buzz of dopamine when someone <3′s my content.
THE TUTORIAL BIT
We will be installing Koyha for training and Stable Diffusion for generating images.
You will need approx. 20 – 50 images for training. You can use less, you can use more.
This process uses a decent amount of hard drive space so keep about 50GB free.
This guide is for WINDOWS. You will need to adapt the steps if installing on a different OS.
My PC has a 24GB Nvidia 3090 and 64GB RAM.
I have not tried this with different gear but any 30**+ series GPU should work.
PREREQUISITES
Download and install the following, re-starting your PC afterwards.
Python – Make sure to select “Add Python to PATH”
CUDA
GIT
VS STUDIO
STABLE DIFFUSION WEB UI
You can copy and paste the following lines.
If you already have a stable diffusion installation then disregard this section.
,
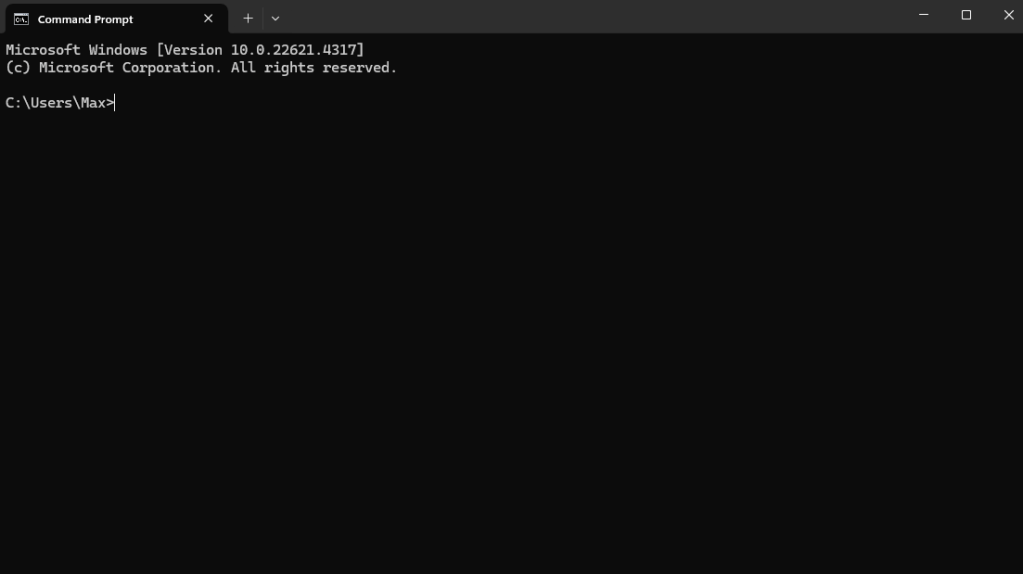
Open ‘Command Prompt’ by pressing ‘WINDOWS KEY + R’ and typing ‘cmd’ or through the start menu.
Change the directory to the location you want to install using the CD command. Change ‘your-username’ to the user name of your PC:
cd C:\Users\your-username\AI\StableDiffusion
if you want to use another drive use…
cd /d
For example
cd /d D:\AI\StableDiffusion
Then use GIT to clone the repository by entering the command
git clone https://github.com/AUTOMATIC1111/stable-diffusion-webui.git
This will download the web UI in the folder
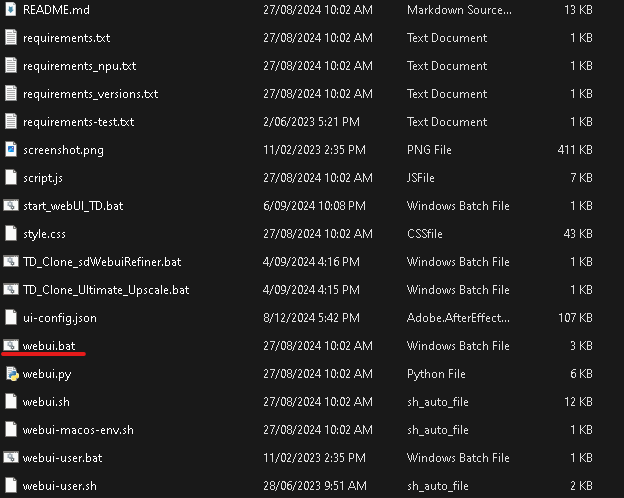
Once this is finished close Command Prompt, go to the Stable-Diffusion-WebUI folder you’ve just created and run
webui.bat
This will install and open Stable Diffusion Web UI in your browser. Note that this is not an online tool, it uses your browser as an interface to access files installed on your own PC.
DOWNLOAD A MODEL
You will need a model to generate images and for using the LORA.
I use Stable Diffusion 2.1-unclip. Any 2.1 model will work for training but deviate at your own peril.
Download the model from here and place it in the /models/stable-diffusion folder in Stable Diffusion Web UI
You’re now good to go if you want to start generating some tasty AI slop.
KOYHA
After downloading and installing the , open command prompt and navigate to the folder you want to install Koyha into. For example.
cd C:\Users\your-username\AI\Koyha
Enter the command
git clone –recursive https://github.com/bmaltais/kohya_ss.git
Once this has finished, enter the command
cd kohya_ss
Then
.\setup.bat
Select option 1 to install Koyha.
Afterwards select option 2 (you may need to re-launch setup.bat) to install CUDNN which will speed up training on Nvidia 3**** and 4*** GPUs
Close Command Prompt and navigate to the Koyha folder. Open GUI.bat.
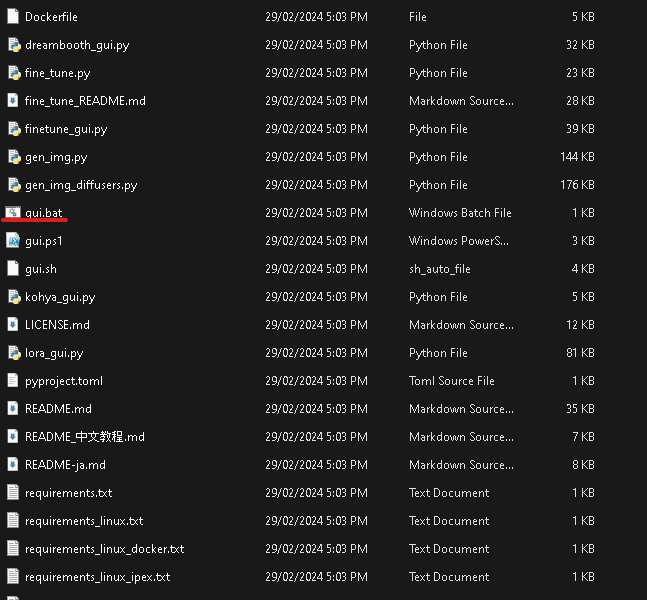
This will launch Koyha in the web browser. Note that this is not an online tool, it uses your browser as an interface to access files installed on your own PC.
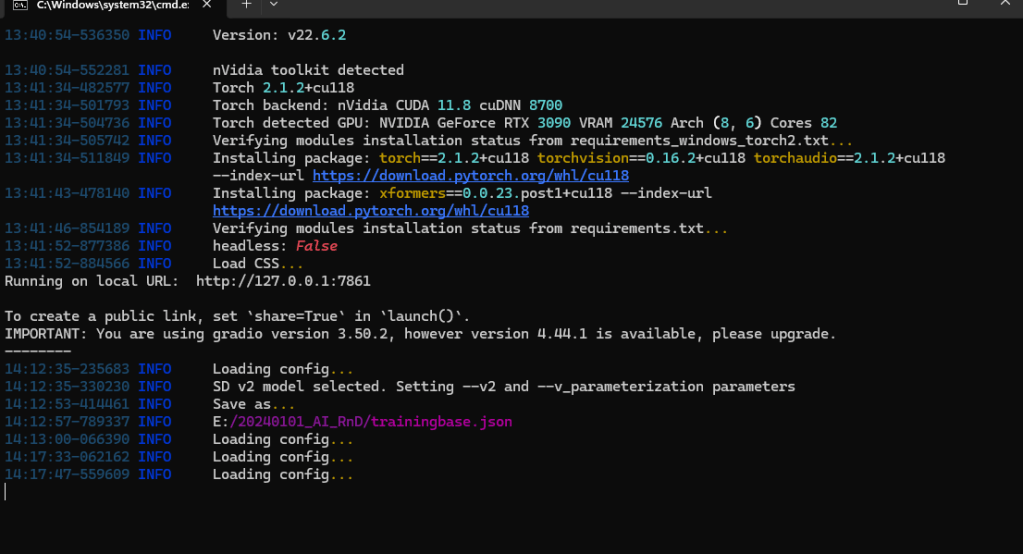
If for some reason Koyha doesn’t launch you will see an IP address in the command prompt window. ‘Running on local URL: http://127.0.0.1:7861‘
CTL click the IP address or type it into a browser to access the web UI.
TRAINING A LORA (a custom model)
Whew… compared to installing the software, training a LORA is somewhat simple.
Training allows you to add custom dataset to the stable diffusion model.
This is achieved by adding tags to your images . These tags allow the model to learn the data and recognise patterns.
The dataset you train could be an art style, a cohesive character, an object or just random chaotic data.
It’s all a bit hit and miss and there is a lot of experimentation required.
PREPARE THE DATASET
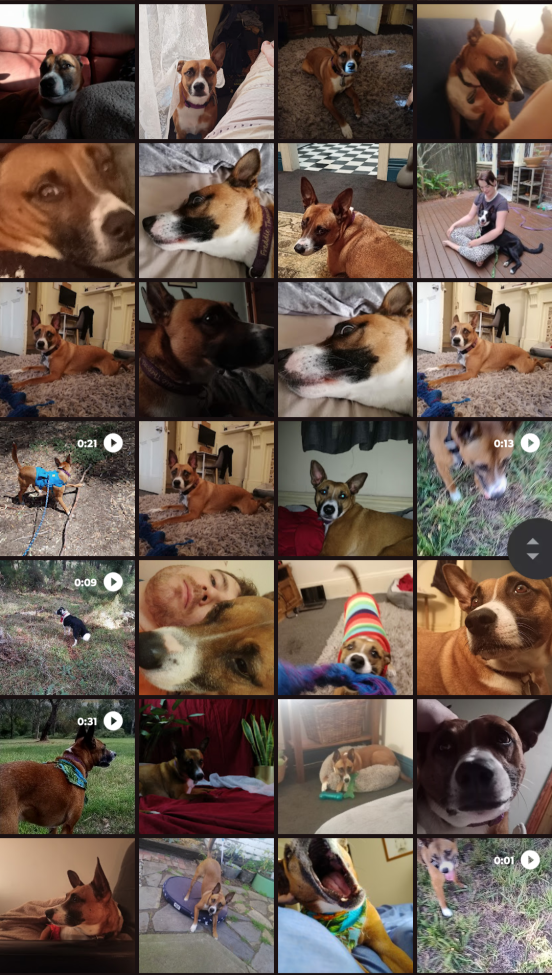
You need 10-50 .png images of whatever data you want to train, and patience. In this instance I am using photographs of my dog Freddie using my phone over an 8 year period.
First, put your images in a folder, somewhere on your hard drive. For example
C:/AI/TRAINING/IMAGES
Tagging
Tagging tells the model what concept you are training and then defines what part of the image relates to that concept.
It’s a bit tricky but think of tagging as a subtractive process, each tag describes a part of the image that isn’t the ‘concept’ rather than what is.
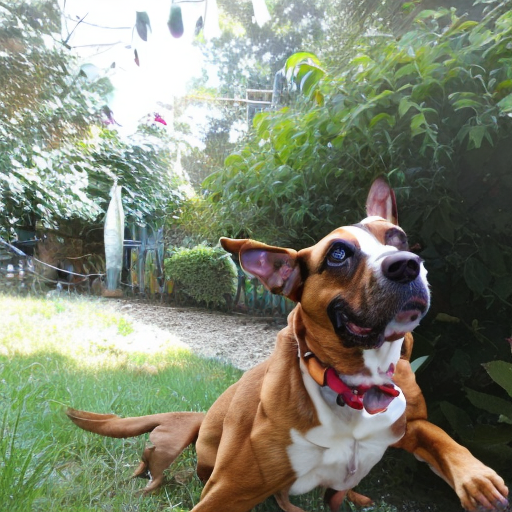
For example lets look at this picture of my dog…
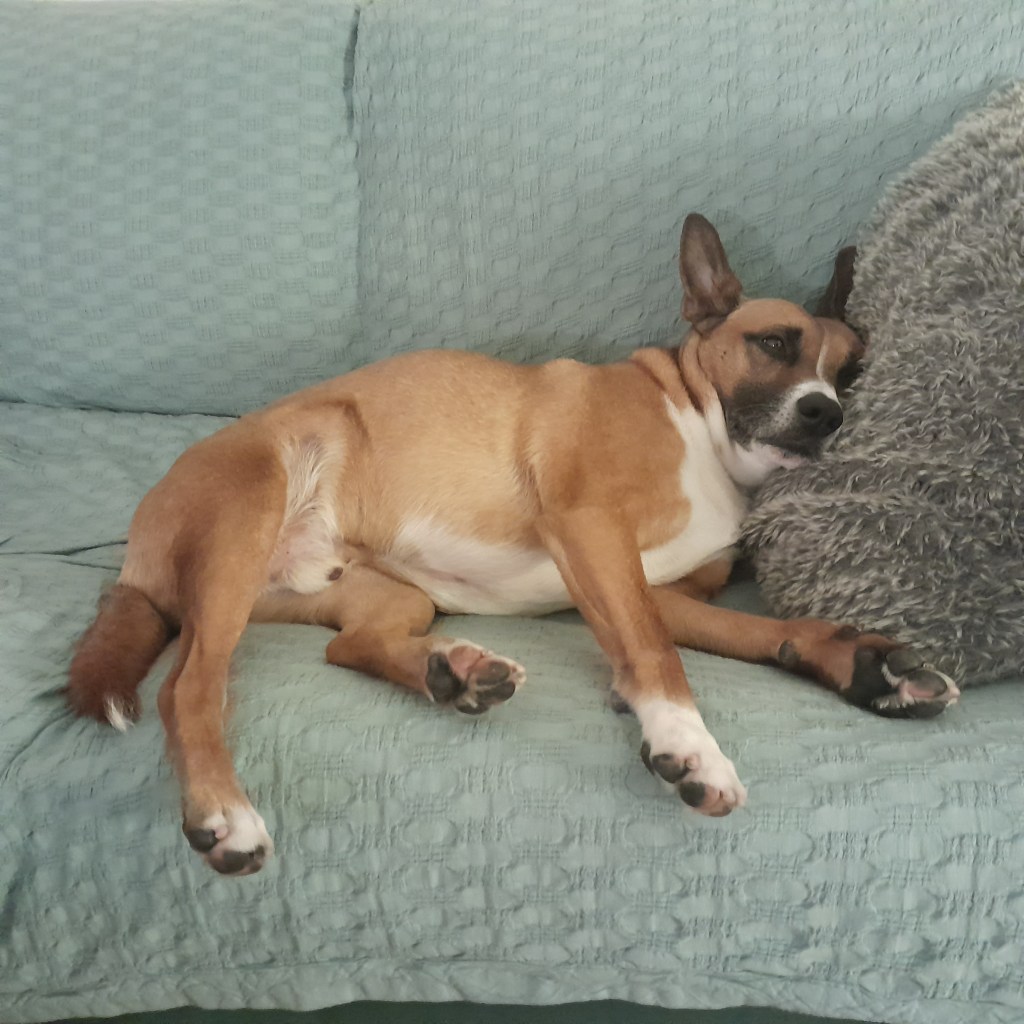
The concept I want to train is Freddie (my dogs name). I wouldn’t tag this as Freddie because there are a lot of Freddie concepts already present in the model (Freddie Mercury perhaps), instead I will use Fr3dd!e as my trigger word.1
Now that I have defined the concept lets identify some tags we could give the image to define the things that Fr3dd!e isn’t.
couch, blue cloth, grey pillow, furry material
This allows us to identify the concept from the other noise in the image.
The concept does not have to be a subject, it can be a style, aesthetic, composition or any type of pattern. Or no humanly discernable pattern.
You might want to disregard the tag’s entirely and just train a model on a random folder of images, or you might want to add heaps of tags and really define what the concept isn’t in order to get fine detailed control. Experiment!
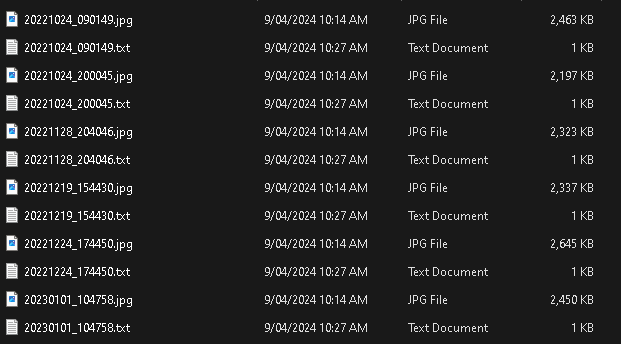
You can manually tag the images yourself by adding a .TXT file with the same name as the images, in the same folder.
This is a very tedious and boring process.
Koyha has some automatic tagging tools that I have found work well enough. I personally am less concerned with super fine tuned and tagged models than I am with experimenting and finding interesting and weird outputs.
You can access automatic tagging within KOYHA by navigating to
Utilities_Captioning_WD14 Captioning
Make sure to enter the Prefix as the concept we invented (fr3dd!e), select your folder of images and leave the rest of the settings as is.
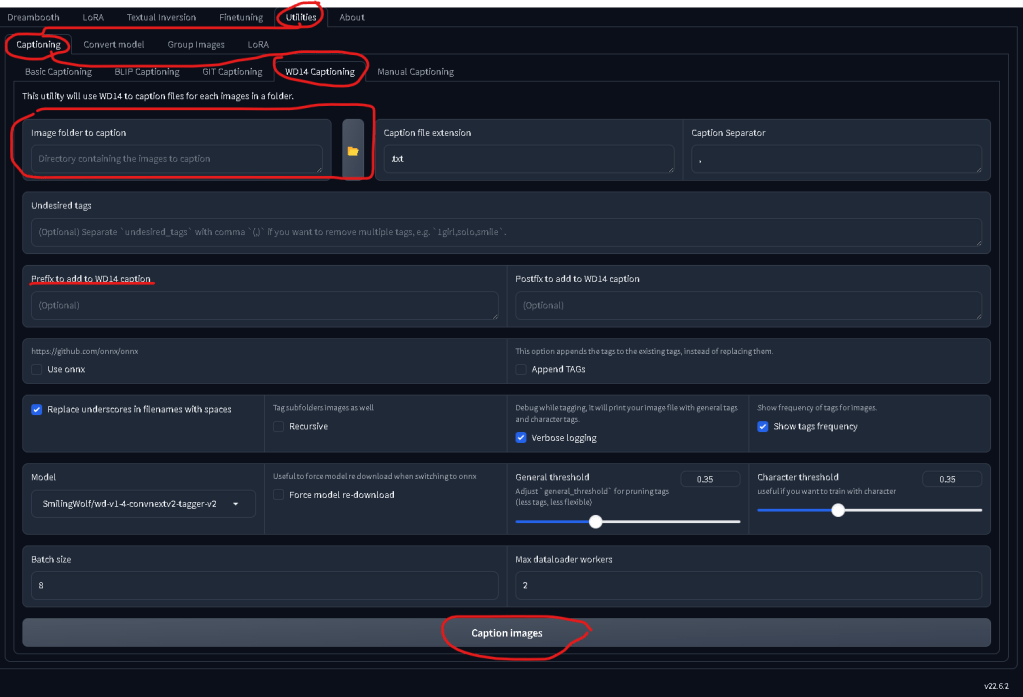
This will spit out a bunch of .txt files with the prefix and the auto tags. You can go to the next step, or edit each .txt files and remove some of the weirder AI auto tags.
GREAT LETS TRAIN
Holdup partner we’ve still got a step or two before we get to the good stuff.
Koyha has a LOT of settings, most of which would require a deep understanding of nerd science (that I do not possess) to interpret. I have hacked together a config file that works pretty well for training small datasets of badly tagged images.
VITAL: Create a settings file
Copy the following and save it to a .txt file with the name ‘settings.txt’…
{
“LoRA_type”: “Standard”,
“LyCORIS_preset”: “full”,
“adaptive_noise_scale”: 0,
“additional_parameters”: “”,
“block_alphas”: “”,
“block_dims”: “”,
“block_lr_zero_threshold”: “”,
“bucket_no_upscale”: true,
“bucket_reso_steps”: 64,
“cache_latents”: true,
“cache_latents_to_disk”: true,
“caption_dropout_every_n_epochs”: 0.0,
“caption_dropout_rate”: 0,
“caption_extension”: “”,
“clip_skip”: 1,
“color_aug”: false,
“constrain”: 0.0,
“conv_alpha”: 1,
“conv_block_alphas”: “”,
“conv_block_dims”: “”,
“conv_dim”: 1,
“debiased_estimation_loss”: false,
“decompose_both”: false,
“dim_from_weights”: false,
“down_lr_weight”: “”,
“enable_bucket”: true,
“epoch”: 20,
“factor”: -1,
“flip_aug”: false,
“fp8_base”: false,
“full_bf16”: false,
“full_fp16”: false,
“gpu_ids”: “”,
“gradient_accumulation_steps”: 1,
“gradient_checkpointing”: true,
“keep_tokens”: “0”,
“learning_rate”: 0.0,
“logging_dir”: “”,
“lora_network_weights”: “”,
“lr_scheduler”: “constant”,
“lr_scheduler_args”: “”,
“lr_scheduler_num_cycles”: “”,
“lr_scheduler_power”: “”,
“lr_warmup”: 0,
“max_bucket_reso”: 2048,
“max_data_loader_n_workers”: “”,
“max_grad_norm”: 1,
“max_resolution”: “512,512”,
“max_timestep”: 1000,
“max_token_length”: “75”,
“max_train_epochs”: “”,
“max_train_steps”: “”,
“mem_eff_attn”: false,
“mid_lr_weight”: “”,
“min_bucket_reso”: 256,
“min_snr_gamma”: 0,
“min_timestep”: 0,
“mixed_precision”: “bf16”,
“model_list”: “stabilityai/stable-diffusion-2-1”,
“module_dropout”: 0,
“multi_gpu”: false,
“multires_noise_discount”: 0.2,
“multires_noise_iterations”: 8,
“network_alpha”: 1,
“network_dim”: 256,
“network_dropout”: 0,
“noise_offset”: 0,
“noise_offset_type”: “Original”,
“num_cpu_threads_per_process”: 2,
“num_machines”: 1,
“num_processes”: 1,
“optimizer”: “Adafactor”,
“optimizer_args”: “scale_parameter=False relative_step=False warmup_init=False”,
“output_dir”: “”,
“output_name”: “”,
“persistent_data_loader_workers”: false,
“pretrained_model_name_or_path”: “stabilityai/stable-diffusion-2-1”,
“prior_loss_weight”: 1.0,
“random_crop”: false,
“rank_dropout”: 0,
“rank_dropout_scale”: false,
“reg_data_dir”: “”,
“rescaled”: false,
“resume”: “”,
“sample_every_n_epochs”: 1,
“sample_every_n_steps”: 0,
“sample_prompts”: “fredd!e”,
“sample_sampler”: “euler_a”,
“save_every_n_epochs”: 2,
“save_every_n_steps”: 0,
“save_last_n_steps”: 0,
“save_last_n_steps_state”: 0,
“save_model_as”: “safetensors”,
“save_precision”: “bf16”,
“save_state”: true,
“scale_v_pred_loss_like_noise_pred”: false,
“scale_weight_norms”: 1,
“sdxl”: false,
“sdxl_cache_text_encoder_outputs”: false,
“sdxl_no_half_vae”: true,
“seed”: “58008”,
“shuffle_caption”: false,
“stop_text_encoder_training”: 0,
“text_encoder_lr”: 0.0004,
“train_batch_size”: 1,
“train_data_dir”: “”,
“train_norm”: false,
“train_on_input”: true,
“training_comment”: “”,
“unet_lr”: 0.0004,
“unit”: 1,
“up_lr_weight”: “”,
“use_cp”: true,
“use_scalar”: false,
“use_tucker”: false,
“use_wandb”: false,
“v2”: true,
“v_parameterization”: true,
“v_pred_like_loss”: 0,
“vae”: “”,
“vae_batch_size”: 0,
“wandb_api_key”: “”,
“weighted_captions”: false,
“xformers”: “xformers”
}
Next, open the settings.txt in Koyha by going to
Lora/Training/Configuration File/Open
Make sure you select LORA from the top menu. Do not select DreamBooth even though the menus are the same.

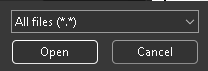
Once you open the settings file it will automatically change the settings for Koyha. If you’ve saved as a .txt make sure to display All files (*.*) or else you wont be able to see the file…
Next up go to the DATASET PREPERATION tab and enter the following
Instance Prompt: your trigger word (fr3dd!e)
Class Prompt: the ‘thing’ it is (dog)
Training Images: The folder you saved the images and captions in
Destination Training Directory: Where you want the new folder saved. I reccomend a different folder for trained images vs raw
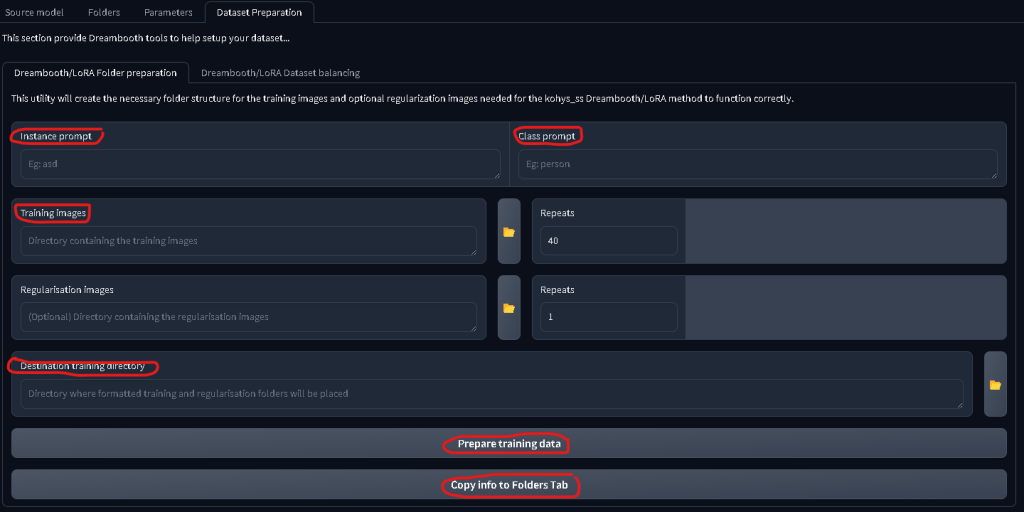
Then press Prepare Training Data followed by Copy Info to Folders Tab
Check the command prompt window if you’re in doubt that a process has or hasn’t worked.
Now, check the FOLDERS tab and make sure the folders have copied over correctly. It should look something like this…

Give it a Model Output Name and Training Comment. I prefer to keep these as the trigger word, in case I forget or want to share the model.
LASTLY you are able to generate sample images as the model trains in order to track progress. This is done in the setting Training/Parameters/Samples

Add your keyword followed by a comma and anything else you’d like. For example
Fr3dd!e, a photograph

Last step is to press Start Training and wait for a few hours for the model to train.
Once training is done, navigate to the folder you told Koyha to work in and you’ll see a few new things.
<folder>/img – The training images and .TXT captions
<folder>/log – Nerd shit that I don’t care about
<folder>/model – A bunch of sub folders, .json files and .safetensor files
<folder>/modell/sample – sample images generated through training
The main thing we care about are the .safetensor files found in <folder>/model
Depending on how many images you trained you will have a few .safetensor files with sequential names. While training the model regularly saves iterations. The final .safetensor is not always the best one. Data can be overtrained which leads to low quality and cooked looking results. I’ve found mid training models tend to be the best. The settings I have provided in the config tend to overtrain, but what works works…
Using your shiny new LORA
Navigate back to the Stable Diffusion Web UI folder.
stable-diffusion-webui/models/Lora/
And put your .safetensors file in that folder
Next, open the webui.bat file to start Stable Diffusion
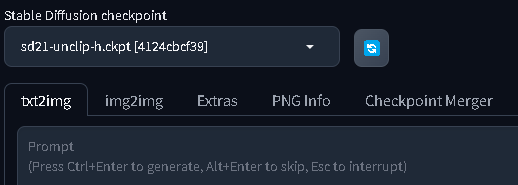
Make sure you have the Stable Diffusion 2.1 model loaded
Navigate to txt2img (or img2img if you want to use an input image)

Navigate to LORA and click the LORA you want to use. This will automatically put the code into the prompt box.
In my case it is <lora:fredd!e:1> where the 1 represents the model weight, or how much of the LORA to use when generating an image. I’ve found setting this to .8 or .9 gives better results since it allows a *little bit* of the stable diffusion 2.1 model to generate the image rather than just the LORA.
Type a prompt after the LORA code making sure to include your trigger word and press Generate. Wait a few seconds and you should have your very own custom AI Slop
That’s it!
I recommend diving deep into the settings and config options if you want to expand the quality and control of the LORA.
I used this guide and a few others to figure this out. A LOT of LORA guides are geared towards anime girl images and other degenerate shit so I hope this helps people who don’t want to indulge in that particular part of the internet.
Please reach out if you need any information using the contact form on my homepage. Please don’t use this tool for evil shit, there’s enough of that happening already.
- Using a concept that IS present in the model can produce interesting results! ↩︎
